Browse our services
Explore how Brookes Bell can help you
Find an expert
Meet our team, find and expert and connect
Contact us
Get in touch, we're here to help

Brookes Bell’s metallurgy services cover the full life cycle evaluation of metallic components and their constituent materials. By applying our team’s expert knowledge and industry leading technology we can determine how a component or structure should behave in a given environment or under certain mechanical loads. Here, Conan O’Driscoll, Senior Marine Engineer, talks about how he uses The Lab’s metallurgy services in the course of his investigations.
Before coming ashore, I sailed on various ship types up to the rank of chief engineer. Once ashore, as a technical superintendent, I managed a number of geared bulk vessels trading globally. Now working as a marine surveyor, I might investigate any type of ship, but my main specialism is in the field of hull and machinery surveys, looking particularly at collision damage, main/auxiliary engine failures and crane issues. My time at sea means that I understand the issues involved and can clearly see the problem from the client’s point of view.
If I am investigating an incident – it could be onboard a ship, or part of a crane onsite - my priority will be to preserve the evidence as much as possible and to establish the sequence of events leading up to the failure. This requires not only a thorough examination of any data and records, but also a forensic examination of the components identified as requiring further examination. In many cases, I will arrange for the components to be transferred to The Lab for closer examination by the metallurgy team.
The Lab is an independent testing facility on the Wirral. The Lab offers a large, controlled environment which, regardless of the industry-leading technology, is much more preferable than trying to conduct investigations on the side of the dock!
By working with The Lab, we are able to carry out a wide range of forensic investigations. There’s a full photography suite using good quality cameras, which means the contact surfaces on anything from fuel pumps to individual bearings can be examined. Simple things such as access to cleaning and good lighting can reveal details about a component which may not have been apparent on site.
The high magnification, high-resolution imaging provided at The Lab allows us to fully investigate and document the failure mechanism that may have contributed to or caused an incident. There are a wide variety of reasons why a component may failure and it is often not just down to wear and tear! Examples of our investigations include:
Material identification is also a really helpful tool to have in the process of root cause analysis. I have been investigating a lot of exhaust gas scrubber failures recently, with the team in the Lab able to identify the composite materials and the different types of failure mechanisms present. Based on this experience, when we’re investigating, we now know what signs to look out for.
Some of the scrubber failures, however, have been down to problems with the coating failure and our metallurgy team have been able to help by measuring the thickness of the coating just from a small paint flake sample. Under the Lab’s microscopes the failure or defect is easily spotted.
It’s not just that our teams are exceptionally skilled, much of the technology and processes they are using haven’t been readily accessible to us. In previous years, in common with others in the industry, we’ve used external smaller laboratories or returned components to the manufacturers for analysis, but their reports have not always been considered impartial which can be a drawback.
I’ve recently investigated a turbocharger failure case where the manufacturer of the turbocharger was desperately keen to investigate in their own laboratory, but the owner preferred Brookes Bell to examine it. Thanks to the new Lab, we can tell our clients with absolute certainty that the Lab is completely impartial and independent in their approach to the investigation and that’s a very valuable thing to be able to say. It’s also often quicker to turn things around because we’re not travelling to external laboratories, which helps us to keep the costs down for our clients too. Furthermore, we can share so much more of the findings in our reports, particularly the imaging, which is fascinating and incredibly useful to clients.
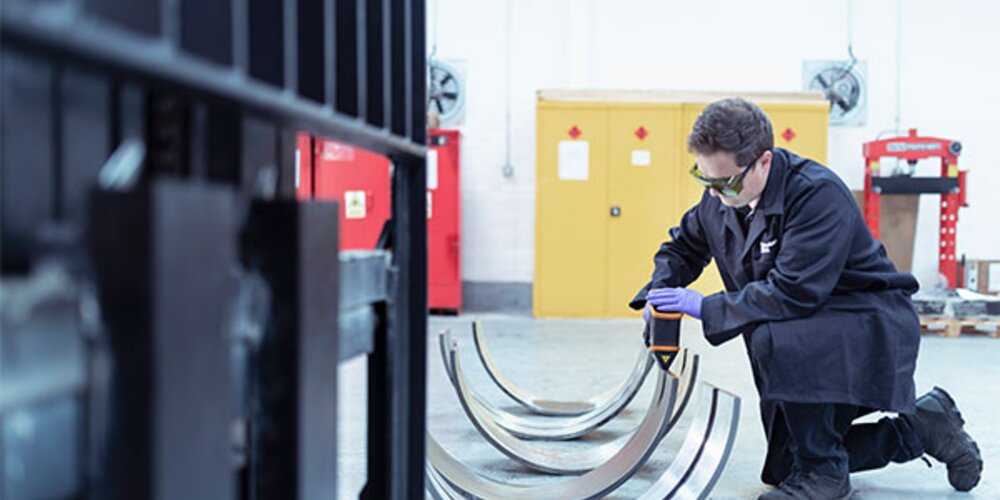
The metallurgy team have high spec and portable analytical equipment which can be brought on-site for investigations and in addition, our non-destructive testing (NDT) team has technology to determine corrosion, thickness measurements and the condition of the materials beneath coatings which would normally have to be removed during more traditional inspections. We’re now able to provide pre-emptive services to clients, for both quality assurance and condition monitoring, allowing them to plan maintenance better and by identifying failures before they occur– improving the reliability of their equipment.
All in all it's an exciting time to be working as a marine surveyor and I’m delighted to have the metallurgy team as a resource I can call on for any investigation.